
LVP Flooring Installation: What to Expect Start to Finish
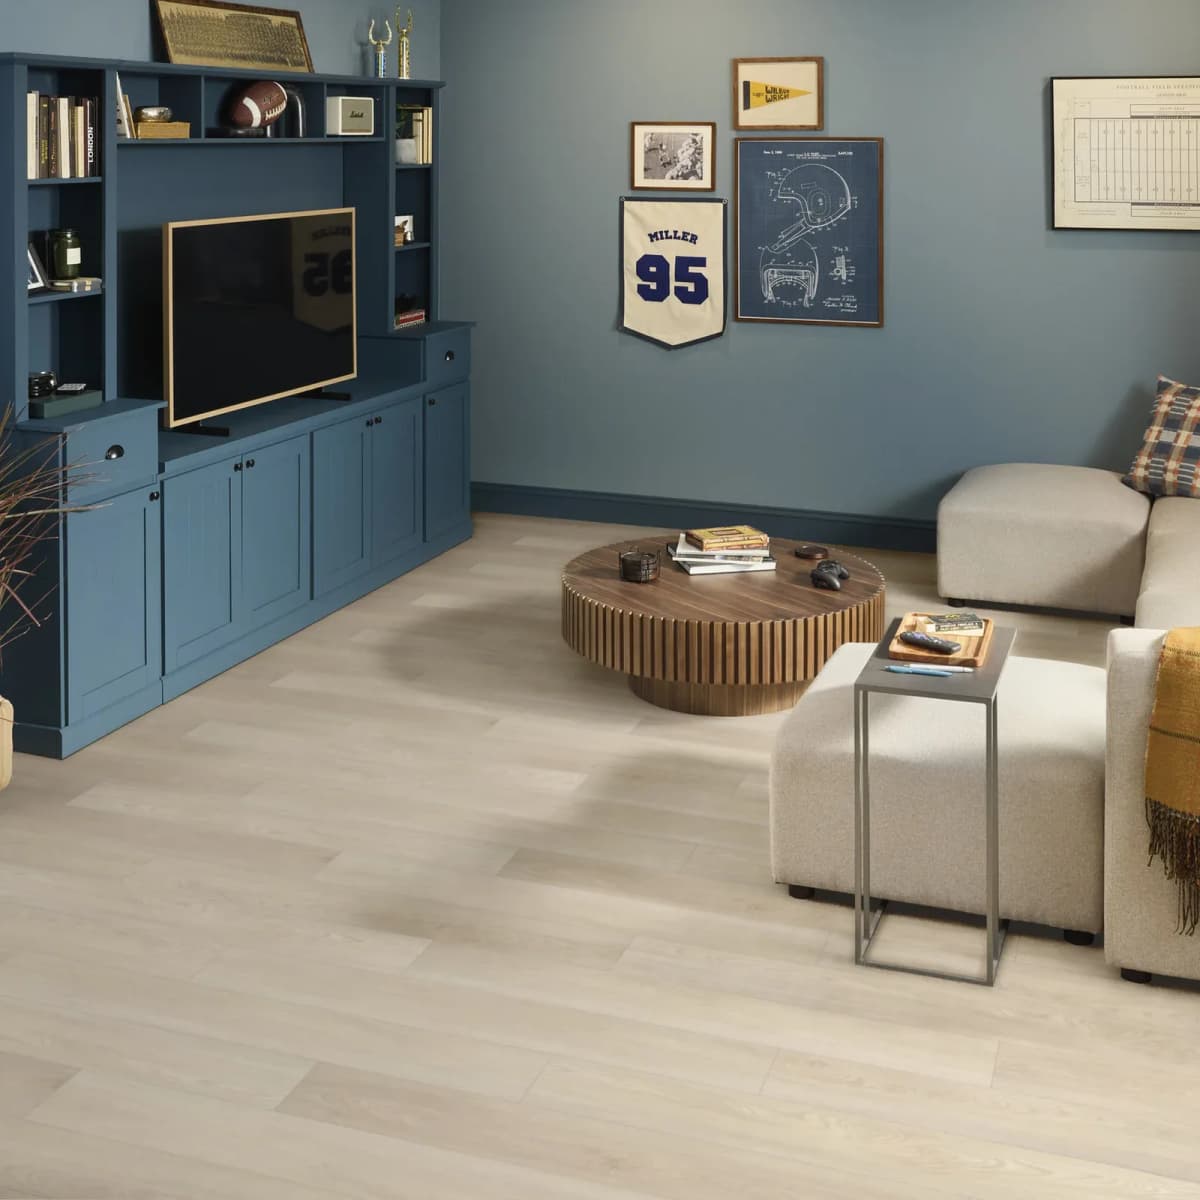
This isn't a DIY installation tutorial. If you're hiring a professional to install luxury vinyl plank flooring — which we recommend for most homeowners — this is your guide to understanding what they should be doing, why each step matters, and what questions to ask along the way.
An informed homeowner gets a better installation. When you know what to expect, you can spot shortcuts, ask the right questions, and make decisions about transitions, direction, and layout that you'll live with for years.
Step 1: Subfloor Inspection and Preparation
This is where good installers earn their money. The subfloor is the foundation of your entire floor, and if it's not right, nothing installed on top of it will perform correctly.
What your installer should check:
Flatness. The subfloor should be flat within 3/16 inch over a 10-foot span. Not level — flat. There's a difference. A floor can slope gently across a room and still be fine for LVP installation, but high spots and low spots within a small area will cause problems. Your installer should use a long straightedge to check and mark any areas that need attention.
High spots get ground down. Low spots get filled with a floor leveling compound. This isn't optional prep work — it's essential. LVP is a floating floor, and if it's bridging gaps in the subfloor, those planks will flex under foot traffic. Over time, that flex weakens the click-lock connections and creates hollow-sounding spots.
Moisture. For concrete subfloors, a moisture test is critical. Your installer should use a calcium chloride test or relative humidity probe to measure moisture levels. Most LVP manufacturers set specific moisture limits in their installation guides — typically below 5 lbs per 1,000 sq ft (calcium chloride) or below 80% RH (in-situ probe). Exceeding these limits can void your warranty.
For wood subfloors, moisture is less of a concern but the installer should still check for soft spots, squeaks, and structural integrity. Loose or damaged subfloor panels should be secured or replaced before installation.
Cleanliness. The subfloor needs to be clean — free of dust, debris, old adhesive, paint drips, and anything else that could create an uneven surface or prevent the underlayment from lying flat. This sounds basic, but you'd be surprised how many installers skip a thorough cleaning.
Step 2: Acclimation
Here's where a lot of internet advice is simply out of date: acclimation requirements are product-specific, and the two brands we sell don't require it. Shaw's luxury vinyl installation guidance says that while acclimation is not required, the flooring should be installed in a climate-controlled environment,Source 1 and COREtec says plainly that acclimation of its planks and tiles prior to installation is not required.Source 2 Other manufacturers do ask for a period in the installation room first.
What hasn't changed is the underlying physics. LVP is more dimensionally stable than hardwood, but it still responds to temperature — planks installed cold can expand as they warm up, planks installed during a heat wave can contract in winter. The movement is minimal compared to hardwood, but it's real, and it's why expansion gaps exist and why every one of these manufacturers insists the room be climate-controlled when the floor goes down.
Your installer should be working from the acclimation instructions printed in your specific product's installation guide, not a universal rule of thumb. If your flooring is a Shaw or COREtec product and the installer says it doesn't need to acclimate, that's the manufacturer's own instruction — not a shortcut.
Step 3: Underlayment
This is where product knowledge matters. There are two scenarios:
Products with attached underlayment. Many premium LVP products, including COREtec, come with underlayment already bonded to the bottom of each plank — typically cork or high-density foam. If your product has attached underlayment, you should not add a separate underlayment pad on top of the subfloor. Doubling up creates too much cushion, which causes the click-lock joints to flex and eventually fail.
The one exception: if you're installing over a concrete slab, you may still need a separate vapor barrier (a thin 6-mil polyethylene sheet) even if the product has attached underlayment. Check the manufacturer's specs — some attached underlayments include a built-in vapor barrier, others don't.
Products without attached underlayment. If your LVP doesn't have attached underlayment, your installer will roll out a separate underlayment pad before laying the planks. This serves three purposes: minor sound dampening, cushion underfoot, and moisture protection. The underlayment should be appropriate for LVP — not the thick, cushy pad you'd use under carpet. Too much cushion is worse than none at all.
Step 4: Layout and Direction
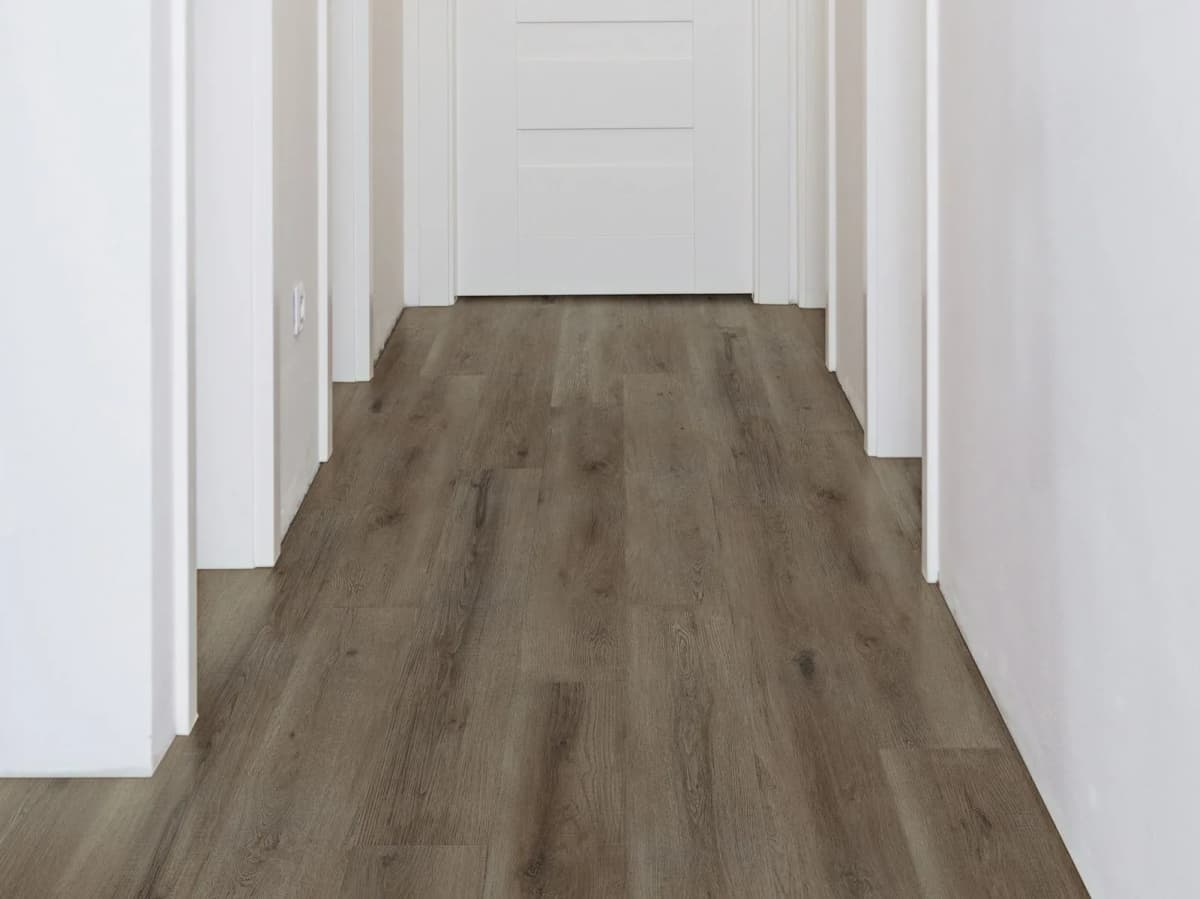
Before the first plank goes down, your installer should plan the layout. This includes:
Plank direction. In most rooms, planks should run parallel to the longest wall or toward the main light source (windows). This creates a more spacious visual effect. But in hallways and long corridors, planks should always run lengthwise. Discuss this with your installer — it's a visual preference, and you should have input.
Starting wall. The installer should start along the straightest, most visible wall. The first row sets the line for the entire floor, so it needs to be perfectly straight. Most installers snap a chalk line rather than trusting the wall to be straight (walls often aren't).
Stagger pattern. Adjacent rows should have staggered end joints — typically offset by at least 6 inches, ideally more. A random stagger pattern looks the most natural. If your installer is creating a repeating "H" pattern (every other row lines up), that's a sign of careless work. Randomize the plank lengths in each row for a natural appearance.
Step 5: Installation — Click-Lock vs. Glue-Down
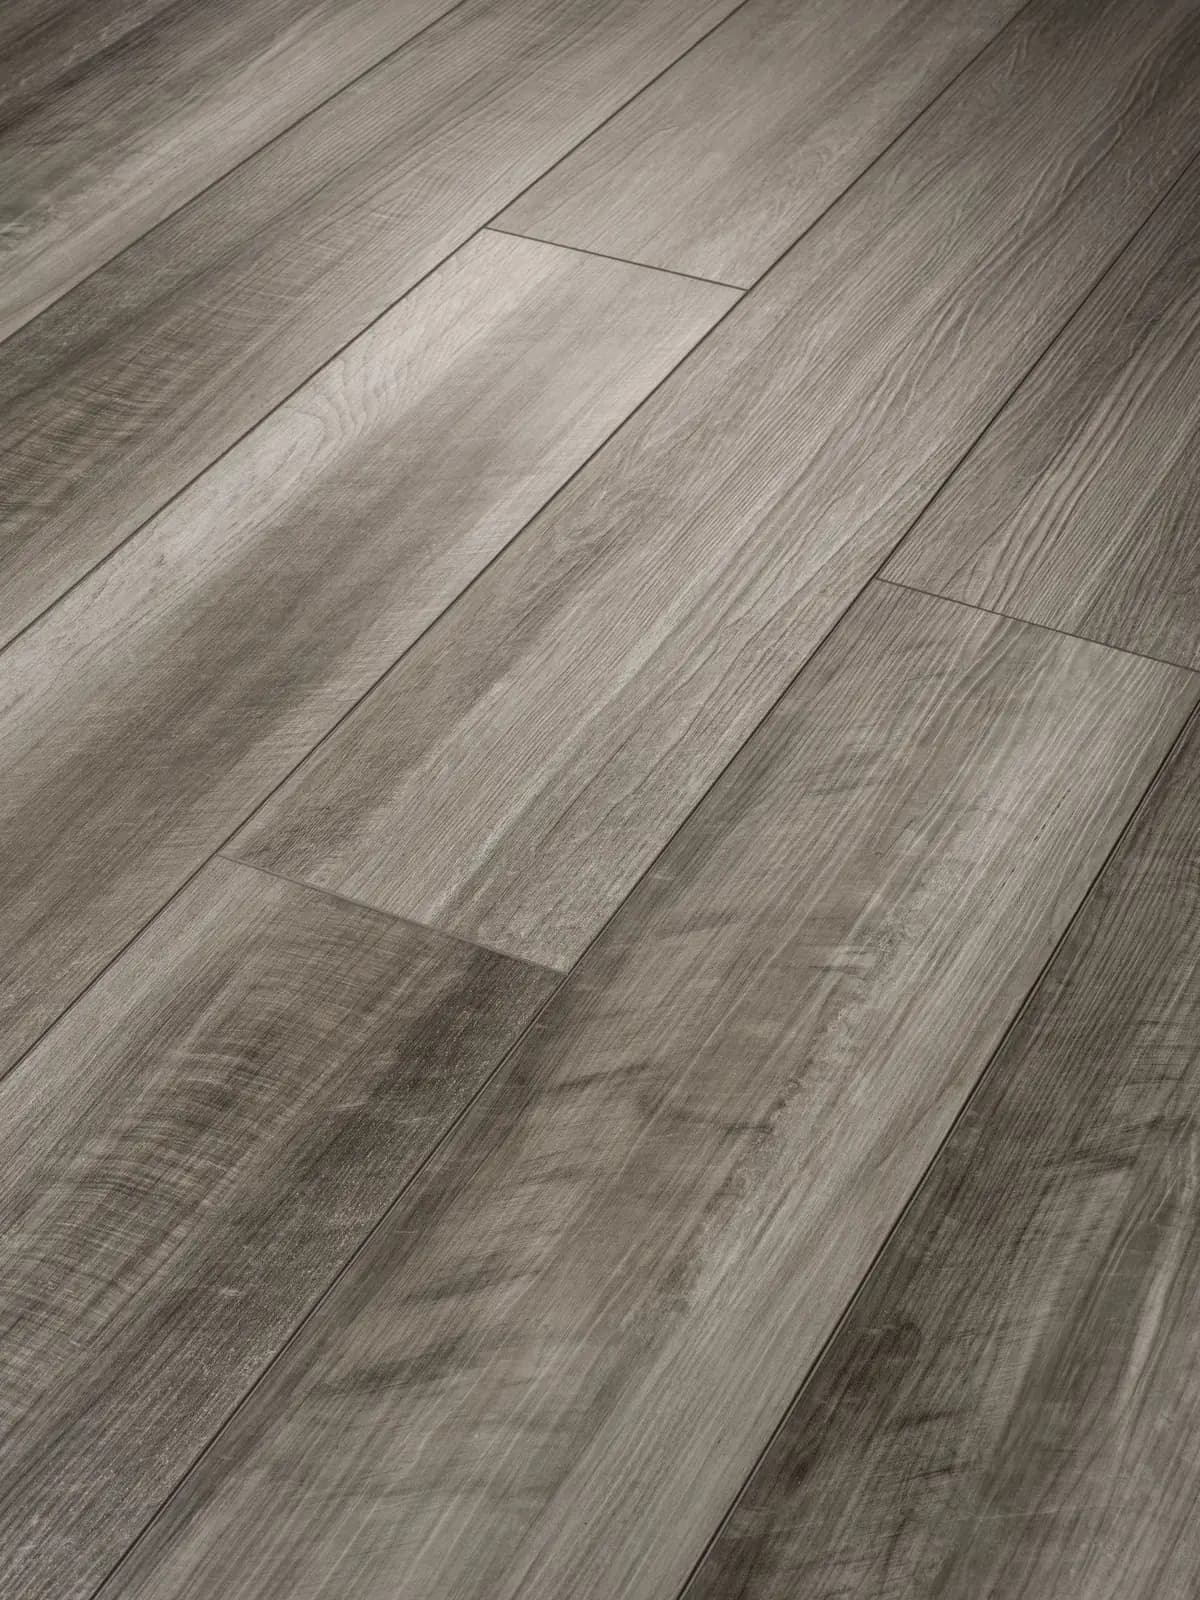
Most residential LVP uses a click-lock (floating) installation. Planks connect to each other via interlocking edges and float over the subfloor without being attached to it. This is faster, cleaner, and allows the floor to expand and contract as a unit.
Glue-down LVP is used in some commercial applications or when the manufacturer specifies it. Each plank is adhered directly to the subfloor with a specific adhesive. This creates a very stable, solid-feeling floor but it's permanent — you can't pull it up and reuse it.
If your installer recommends glue-down for a residential job, ask why. There may be a good reason (unusual subfloor conditions, specific manufacturer requirement), but in most cases click-lock is the standard.
Step 6: Expansion Gaps and Transitions
Expansion gaps. Your installer must leave a gap — typically 1/4 inch — between the flooring and every wall, cabinet, and fixed object. This gap allows the floor to expand and contract with temperature changes. It gets covered by baseboards or quarter-round trim, so you'll never see it. If your installer pushes planks tight against the wall, your floor will buckle when it expands.
Transition strips. Where your LVP meets a different flooring type (tile, carpet, hardwood), a transition strip bridges the gap. Good installers carry a variety of transition profiles — T-moldings, reducers, end caps — and choose the right one for each situation. Flimsy or mismatched transitions are one of the most visible signs of a sloppy installation.
Having the Conversation
Print this article or bookmark it on your phone. When your installer comes for the estimate, walk through these steps with them. A good installer will appreciate that you've done your homework. A bad installer will get defensive or dismissive — and that tells you everything you need to know.
Browse our full luxury vinyl plank collection to find the right product, then find an installer who will do it justice.
Common questions
Frequently Asked Questions
Does LVP flooring need underlayment?
It depends on whether the product has underlayment already attached. Many premium LVP products come with cork or high-density foam bonded to the bottom of each plank — if yours does, do not add a separate pad on top. Doubling up creates too much cushion, which causes the click-lock joints to flex and eventually fail. If the product has no attached underlayment, a separate pad is required. For concrete slabs, a vapor barrier is often needed regardless of whether underlayment is attached.
What subfloor preparation is required for LVP installation?
The subfloor must be flat within 3/16 inch over a 10-foot span. High spots get ground down and low spots are filled with floor leveling compound — skipping this step causes planks to flex under foot traffic, which weakens the click-lock connections over time. For concrete subfloors, a moisture test using a calcium chloride test or relative humidity probe is critical. Most LVP manufacturers require moisture below 5 lbs per 1,000 sq ft or below 80% RH. Exceeding these limits can void the product warranty.
How long does LVP need to acclimate before installation?
It depends entirely on the product, and for the two brands we sell the answer is none. Shaw's luxury vinyl installation guidance states that while acclimation is not required, the flooring should be installed in a climate-controlled environment, and COREtec states that acclimation of its planks and tiles prior to installation is not required. Other manufacturers do specify a period in the installation room, so the instructions packed with your flooring are the ones that count — following them is also what protects your warranty claim. LVP is far more dimensionally stable than hardwood, but it still responds to temperature, which is why expansion gaps at walls and fixed objects are required either way.
What is the difference between click-lock and glue-down LVP installation?
Click-lock (floating) LVP is the standard for residential installation. Planks connect via interlocking edges and float over the subfloor without being adhered to it, allowing the floor to expand and contract as a unit. Glue-down LVP adheres each plank directly to the subfloor with a specific adhesive, creating a very stable, permanent floor used in some commercial applications. Glue-down cannot be pulled up and reused. If an installer recommends glue-down for a standard residential job, ask for a specific reason — in most cases, click-lock is the correct method.
Referenced in this guide
Sources
Luxury Vinyl Installation
Shaw Floors · Accessed 2026-08-03
https://shawfloors.com/en-us/plan-and-install/vinylInstallation & Maintenance
COREtec · Accessed 2026-08-03
https://coretecfloors.com/en-us/installation-maintenance
Related Posts
Keep Reading
COREtec Tile & Stone Looks: The DIY Alternative to Ceramic and Porcelain (2026)
9 min read

LVP Wear Layer Explained: Why 12 Mil and 20 Mil LVP Overlap on Price and Wear Differently
9 min read
Shaw LVP Buyer's Guide: Classic Series vs Pro Series, and Where 5th and Main Fits (2026)
10 min read
Will Heavy Furniture Dent Vinyl Plank Flooring? What Holds Up (2026)
14 min read
Keep browsing