
The Right Way to Evaluate Flooring Samples at Home
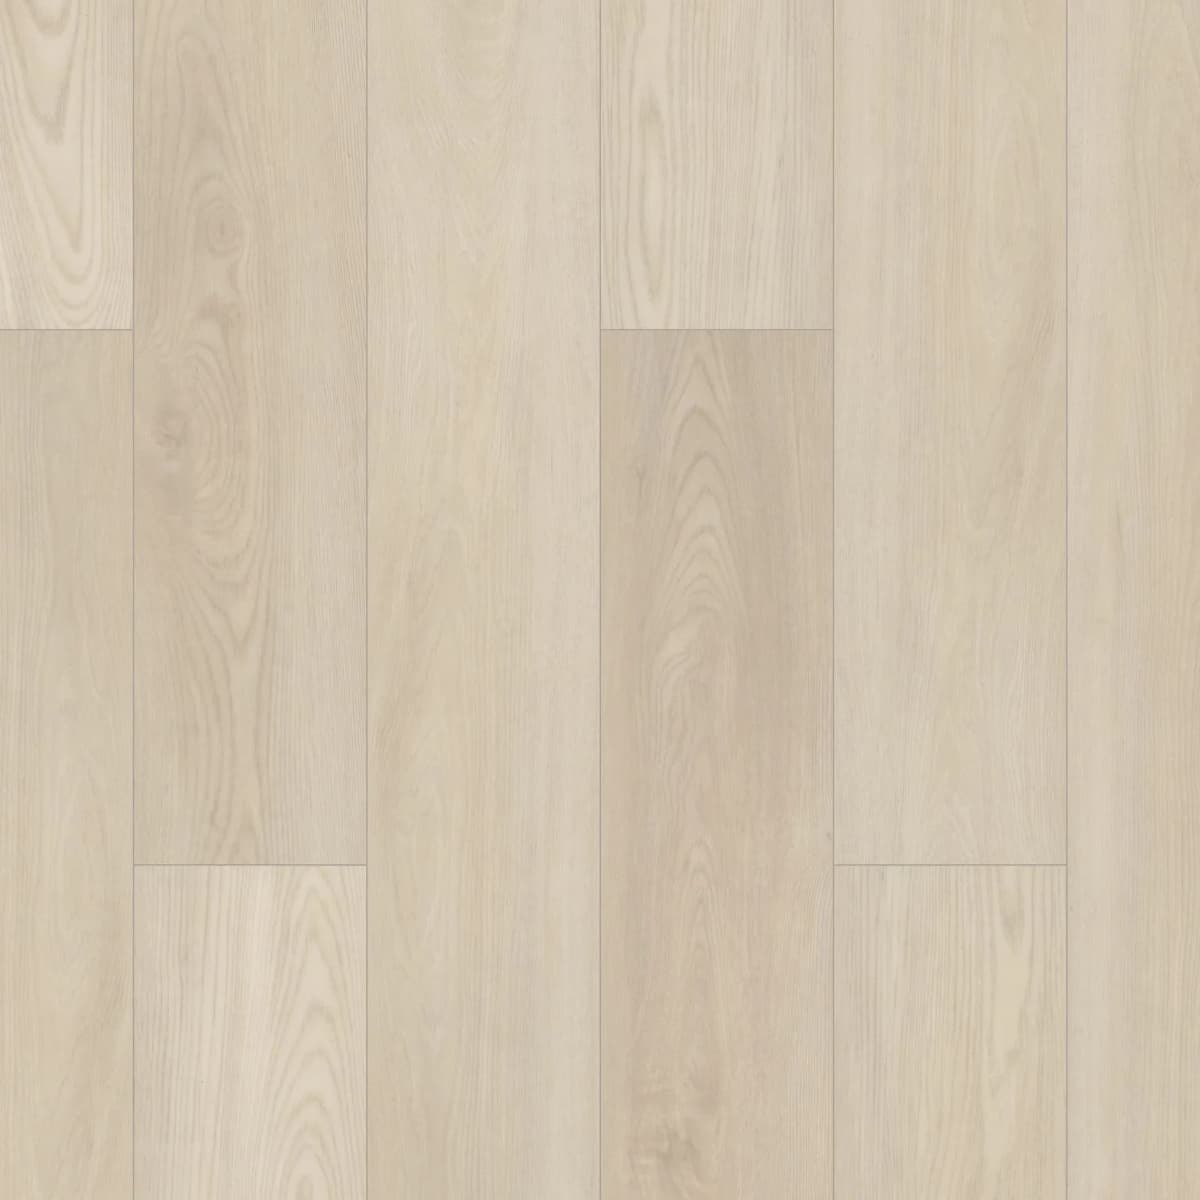
You ordered samples. They arrived. You pulled them out of the packaging, held them up, and thought "that's nice" or "that's not what I expected." And then you probably made your decision in about 30 seconds.
That's exactly how not to evaluate flooring samples. A floor covers every inch of your room — the way it looks changes dramatically based on lighting, surrounding colors, and viewing angle. Here's how to actually use those samples to make a decision you won't regret.
Step 1: Get Them on the Floor
This sounds obvious, but most people hold samples up in the air or prop them against a wall. Your floor lives on the floor. Set the samples flat on the ground in the room where the flooring will be installed. Stand over them. Walk past them. Crouch down and look across them at a low angle — that's how you'll see them every day from your couch or dining chair.
A sample that looks warm and rich at arm's length can look completely different when it's horizontal on the ground reflecting overhead light. Viewing angle noticeably changes how a color reads — which is exactly why the sample belongs on the floor, not in your hand.
Step 2: Test in Natural Light at Different Times
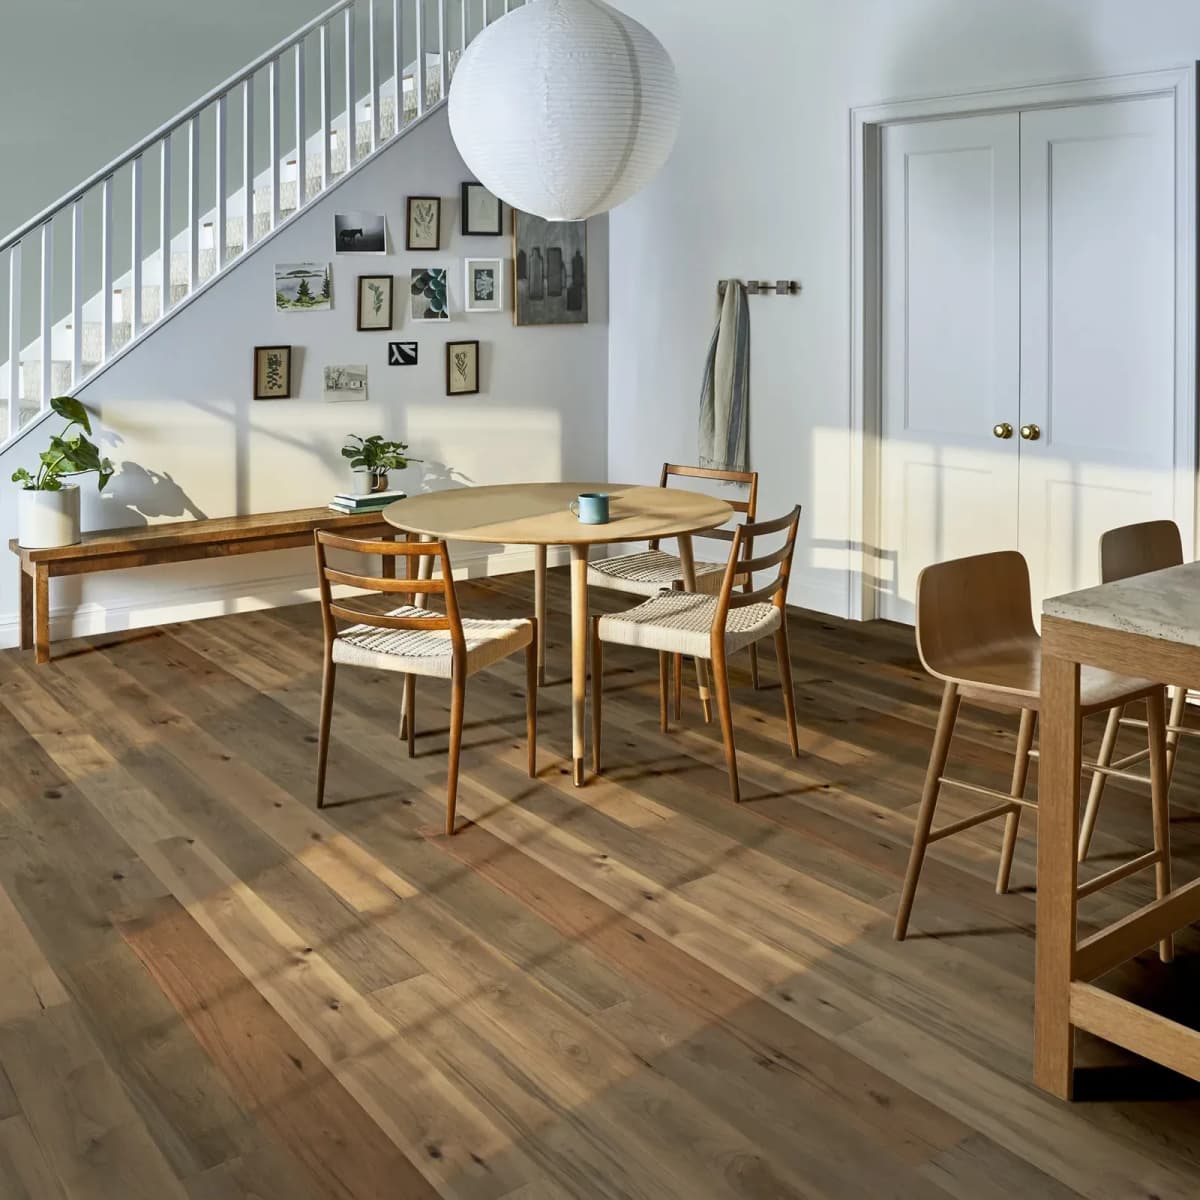
Showroom lighting is designed to make everything look good. Your home has real light — and it changes throughout the day.
Morning light tends to be cooler and bluer, especially in north-facing rooms. That warm oak sample might look ashy at 8 AM.
Afternoon light is warmer and more golden. The same sample may glow beautifully at 3 PM.
Evening artificial light is where most people get surprised. LED bulbs at 3000K (warm white) cast a yellow tone that shifts wood-look floors toward amber. LEDs at 4000K (cool white) can wash out warm tones entirely.
Test your samples under all three conditions. Leave them on the floor for at least 48 hours and look at them each morning, afternoon, and evening. If a sample looks good in all lighting conditions, it's a safe bet. If it only looks right at one time of day, that's a warning sign.
Step 3: Place Samples Against Your Fixed Colors
Your flooring doesn't exist in isolation. It sits next to baseboards, door trim, cabinets, countertops, and wall paint — all of which are probably staying put during a flooring renovation.
Set each sample directly against:
- Your baseboard and door trim (white trim is forgiving; wood trim needs careful matching)
- Your kitchen or bathroom cabinets
- A piece of your countertop material if possible
- Your wall color (hold the sample at the wall-floor junction)
Colors that look great alone can clash when placed next to existing elements. A cool gray LVP next to honey oak cabinets creates a jarring contrast. A warm brown hardwood next to cool white subway tile might look muddy. These interactions are nearly impossible to predict without physically testing them.
Step 4: Test on Your Actual Subfloor
If you've pulled up old carpet or flooring and your subfloor is exposed, place the samples directly on it. This tells you two things:
Thickness and transition height. Will this flooring sit flush with the adjacent room's floor, or will you need a transition strip? A sample on the subfloor gives you a visual preview of the final height.
Sound and feel. Walk on the sample. Tap it with your foot. Rigid-core LVP on a concrete subfloor sounds and feels different than on a plywood subfloor. If your samples include attached underlayment (like COREtec), you'll feel the cushion difference immediately.
Step 5: The 48-Hour Rule
Never make a final flooring decision the same day your samples arrive. This isn't superstition — it's practical.
Day one, you have "new sample" excitement. Everything looks possible. You haven't lived with the colors yet.
Day two, you've seen the samples in morning light, afternoon light, and evening light. You've walked past them a dozen times. The initial excitement has faded and you're seeing them more objectively.
Most people find that at least one sample they loved on day one falls out of favor by day two. That 48-hour cooling period has saved countless homeowners from ordering 40 cartons of a floor they'd grow tired of in six months.
Step 6: Narrow Down, Then Compare Side by Side
If you ordered five or six samples, narrow to your top two. Place them side by side on the floor and live with just those two for another day. The winner usually becomes obvious when you remove the noise of the other options.
Pro tip: If you truly can't decide between two finishes, pick the one that's more neutral. Trendy colors and bold patterns look exciting in samples but can feel overwhelming across 800 square feet. The slightly more subtle option almost always has better staying power.
What to Look for Beyond Color
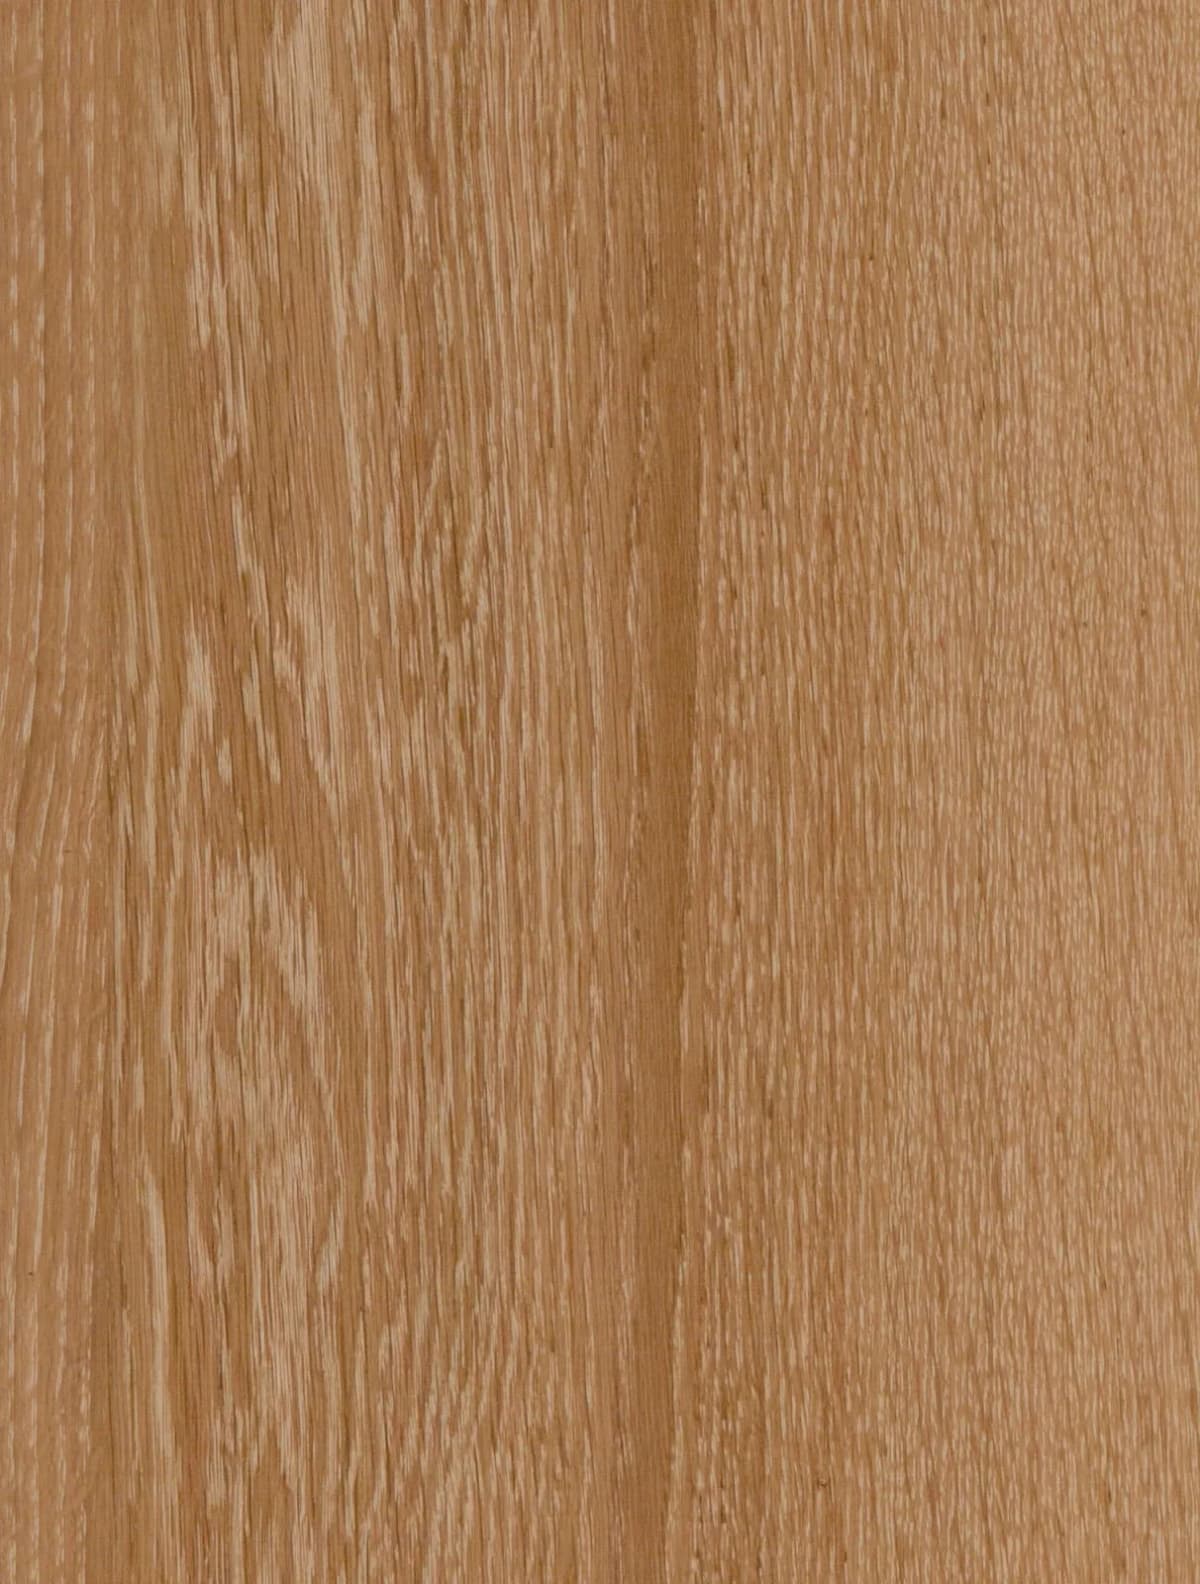
While your samples are on the floor, evaluate these details:
Embossing quality. Run your fingers across the surface. Does the texture align with the printed grain? High-quality products have registered embossing — the ridges follow the knots and grain lines. Entry-tier products use random texture that doesn't match the print.
Edge profile. Look at the edges where planks would meet. Are they micro-beveled (a small V-groove) or square-edge (flat)? Beveled edges create shadow lines between planks that add realism. Square edges create a smoother, more seamless look. Neither is better — it's a style preference.
Thickness and weight. Hold the sample. A dense, heavy plank generally indicates a denser core, which means better dent resistance and sound absorption.
Order Samples Before You Commit
If you haven't ordered samples yet, do it before you make any flooring purchase. It's the single most effective way to avoid buyer's remorse on a floor you'll live with every day.
Order $5 samples from FloorFreight — we carry Shaw, COREtec, Anderson Tuftex, and more. They ship fast, and the 15 minutes you spend evaluating them properly will save you from a very expensive mistake.
Common questions
Frequently Asked Questions
How do I properly evaluate flooring samples at home?
Set samples flat on the floor in the room where the flooring will be installed — not propped against a wall or held in the air. Evaluate them at a low angle, the way you'll actually see the floor from a couch or chair. Place them next to your fixed colors: baseboards, door trim, cabinets, and countertops. Leave them down for at least 48 hours and check at different times of day. Never make a final decision the same day samples arrive.
What should I look for when testing flooring samples?
Beyond color, evaluate embossing quality — run your finger across the surface to check whether the texture aligns with the printed grain. Check the edge profile: micro-beveled edges create shadow lines between planks for a realistic look, while square edges give a smoother, more seamless appearance. Test thickness and weight — a dense, heavy plank usually indicates a denser core with better dent resistance and sound absorption. If your subfloor is exposed, place samples on it to preview transition heights and feel the sound difference.
Where should I test flooring samples in my home?
Test samples in the room where the flooring will actually be installed, under that room's lighting conditions. Different rooms have different light sources, orientations, and surrounding colors. A north-facing room with cool morning light will make a warm oak sample look ashy at 8 AM, while the same sample may look rich and golden in an afternoon-light south-facing room. Also test samples at the wall-floor junction next to your existing baseboards and trim — colors that look great in isolation can clash with surrounding fixed elements.
Why does a flooring sample look different at different times of day?
Light color temperature shifts throughout the day. Morning light is cooler and bluer; afternoon light is warmer and more golden. Evening artificial light depends on your bulb type — LEDs at 3000K cast a yellow tone that shifts wood-look floors toward amber, while LEDs at 4000K can wash out warm tones entirely. Viewing angle changes how the color reads, too: a sample looks warm and rich at arm's length but can read completely differently when it's horizontal on the floor reflecting overhead light.
Related Posts
Keep Reading
Best Place to Buy Flooring Online in 2026: How 11 Online Retailers Compare
22 min read
Flooring Transition Strips Explained: T-Molding vs Reducer vs Stair Nose
8 min read
How to Compare Flooring Samples: A Simple Method for Picking the Right Floor
8 min read
How to Find a Good Flooring Installer (And 5 Red Flags to Avoid)
7 min read
Keep browsing